
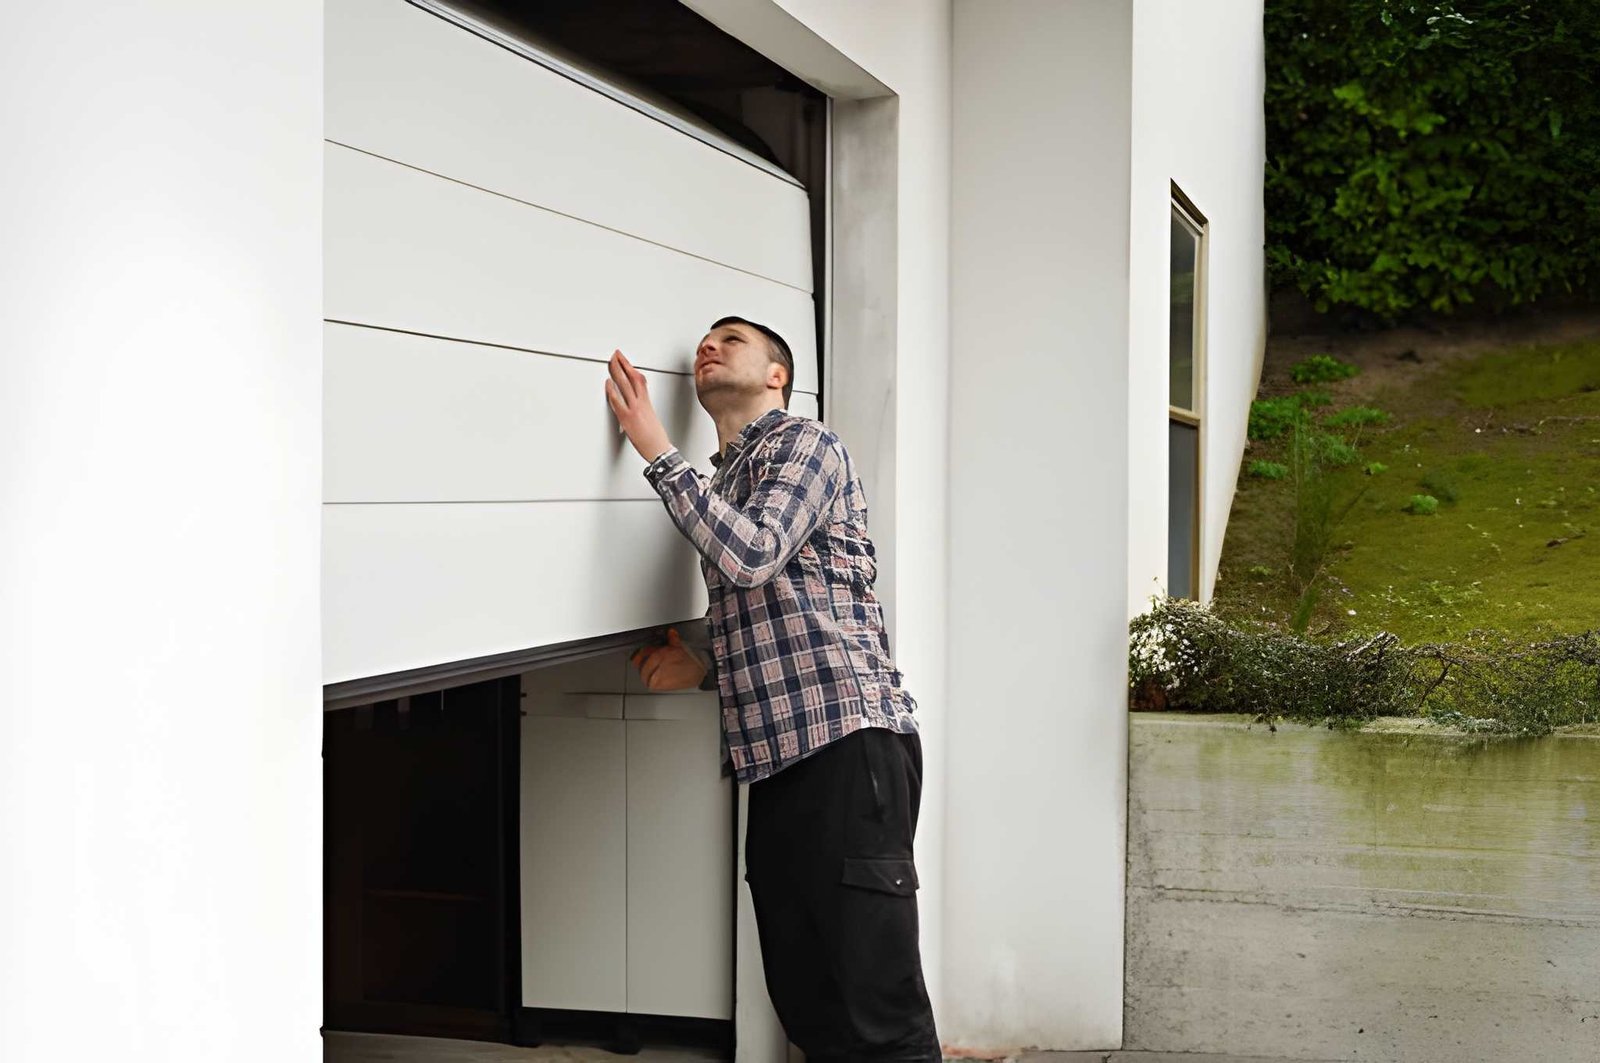
A garage door opener that grinds, stalls, or stops responding often means replacement time has arrived. Replacing garage door opener units yourself can save money, but it is not always the right choice for every situation. Some jobs fit well within a weekend project. Others carry real risk without the right tools and training. This guide walks you through the full replacement process, what you can handle yourself, and when a professional should step in instead. You get clear steps, honest cost comparisons, and safety tips to help you make the right call for your own home.
Signs Your Opener Needs Replacement
Before you start any project, confirm your opener actually needs full replacement rather than a simple repair.
Watch for these signs:
- The motor runs but the door does not move
- Grinding or straining sounds during operation
- Remote controls stop working even after battery replacement
- The opener is over ten to fifteen years old
- Frequent resets or error codes on newer models
A unit under ten years old with a single issue may only need a part repair. Older units with multiple problems usually cost more to repair than to replace outright.
What a DIY Replacement Involves
Replacing a garage door opener yourself follows a fairly standard process across most brands and models.
Tools and Materials You Need
Before you start, gather the right tools so you avoid mid project delays.
- New garage door opener kit matching your door’s weight rating
- Drill and basic hand tools
- Ladder rated for your ceiling height
- Safety glasses and work gloves
Basic Installation Steps
Most opener replacements follow this general path from removal to full setup.
- Disconnect and remove the old opener unit and rail
- Mount the new opener bracket to the ceiling and wall
- Attach the rail and trolley system per the manufacturer’s instructions
- Connect the opener to your door’s existing hardware
- Program remotes, keypads, and any smart home connections
- Test the safety reverse feature before regular use
This process usually takes two to four hours for someone comfortable with basic tools and ladder work.
Cost Comparison: DIY vs Professional Installation
Cost is one of the biggest factors in this decision. A clear comparison helps you weigh time saved against money saved.
| Cost Factor | DIY Installation | Professional Installation |
| Opener unit cost | $150 to $400 | $150 to $400 |
| Labor cost | None | $100 to $300 |
| Tools needed | Owned or purchased | Included in service |
| Warranty on labor | None | Often included |
| Time required | 2 to 4 hours | 1 to 2 hours |
A professional often works faster due to repeated experience with different models and door types. This time savings can offset part of the labor cost for many homeowners.
When DIY Makes Sense
A DIY replacement fits well for certain situations and skill levels.
- You have experience with basic home improvement projects
- Your garage ceiling height and layout allow safe ladder access
- Your new opener matches your existing door type and weight
- You are comfortable following printed or video installation instructions closely
DIY installation works best on standard residential doors without unusual size or weight. Standard doors and openers rarely require special adjustments beyond the manufacturer’s instructions.
When You Should Hire a Professional
Some situations carry enough risk or complexity that a professional installation makes more sense.
- Your garage door uses high tension torsion springs that need adjustment
- Your ceiling height or garage layout makes ladder work unsafe
- You are replacing an opener alongside a full door replacement
- Your door is unusually heavy, wide, or uses commercial grade hardware
- You want a labor warranty in case of future issues
Spring related work carries real injury risk without proper tools and training. Leave any spring adjustment or replacement to a trained technician regardless of your comfort level with other tools.
Common DIY Mistakes to Avoid
Even simple opener replacements can go wrong without care during installation.
- Skipping the safety reverse test after installation
- Choosing an opener with the wrong horsepower rating for your door size
- Mounting the rail at an incorrect angle, causing extra strain on the motor
- Forgetting to secure all mounting bolts to code required torque
Take your time during installation rather than rushing to finish in one sitting. A rushed installation often leads to noise problems or early motor wear down the road.
Safety Checks After Installation
Once your new opener is installed, run through a few safety checks before regular daily use.
- Test the auto reverse feature by placing an object in the door’s path
- Confirm the photo eye sensors align and trigger correctly
- Check that the door closes fully without gaps at the bottom
- Listen for unusual noise during a few full open and close cycles
These checks confirm your new opener works safely for daily use, especially in households with children or pets near the garage area.
Final Thoughts
Replacing a garage door opener can work well as a DIY project for many homeowners with basic tool experience and a standard door setup. Spring related work, unusual door types, and safety concerns around ladder access all point toward hiring a professional instead. Compare your own comfort level, available time, and true cost savings before you decide. Either path gets you a working opener again, but the right choice depends on your specific setup and risk tolerance.
Not sure which path fits your garage door? Visit tgds4ut.com today and let our team help you get a new opener installed safely and correctly.